TEI Cube
A downloadable game
Description
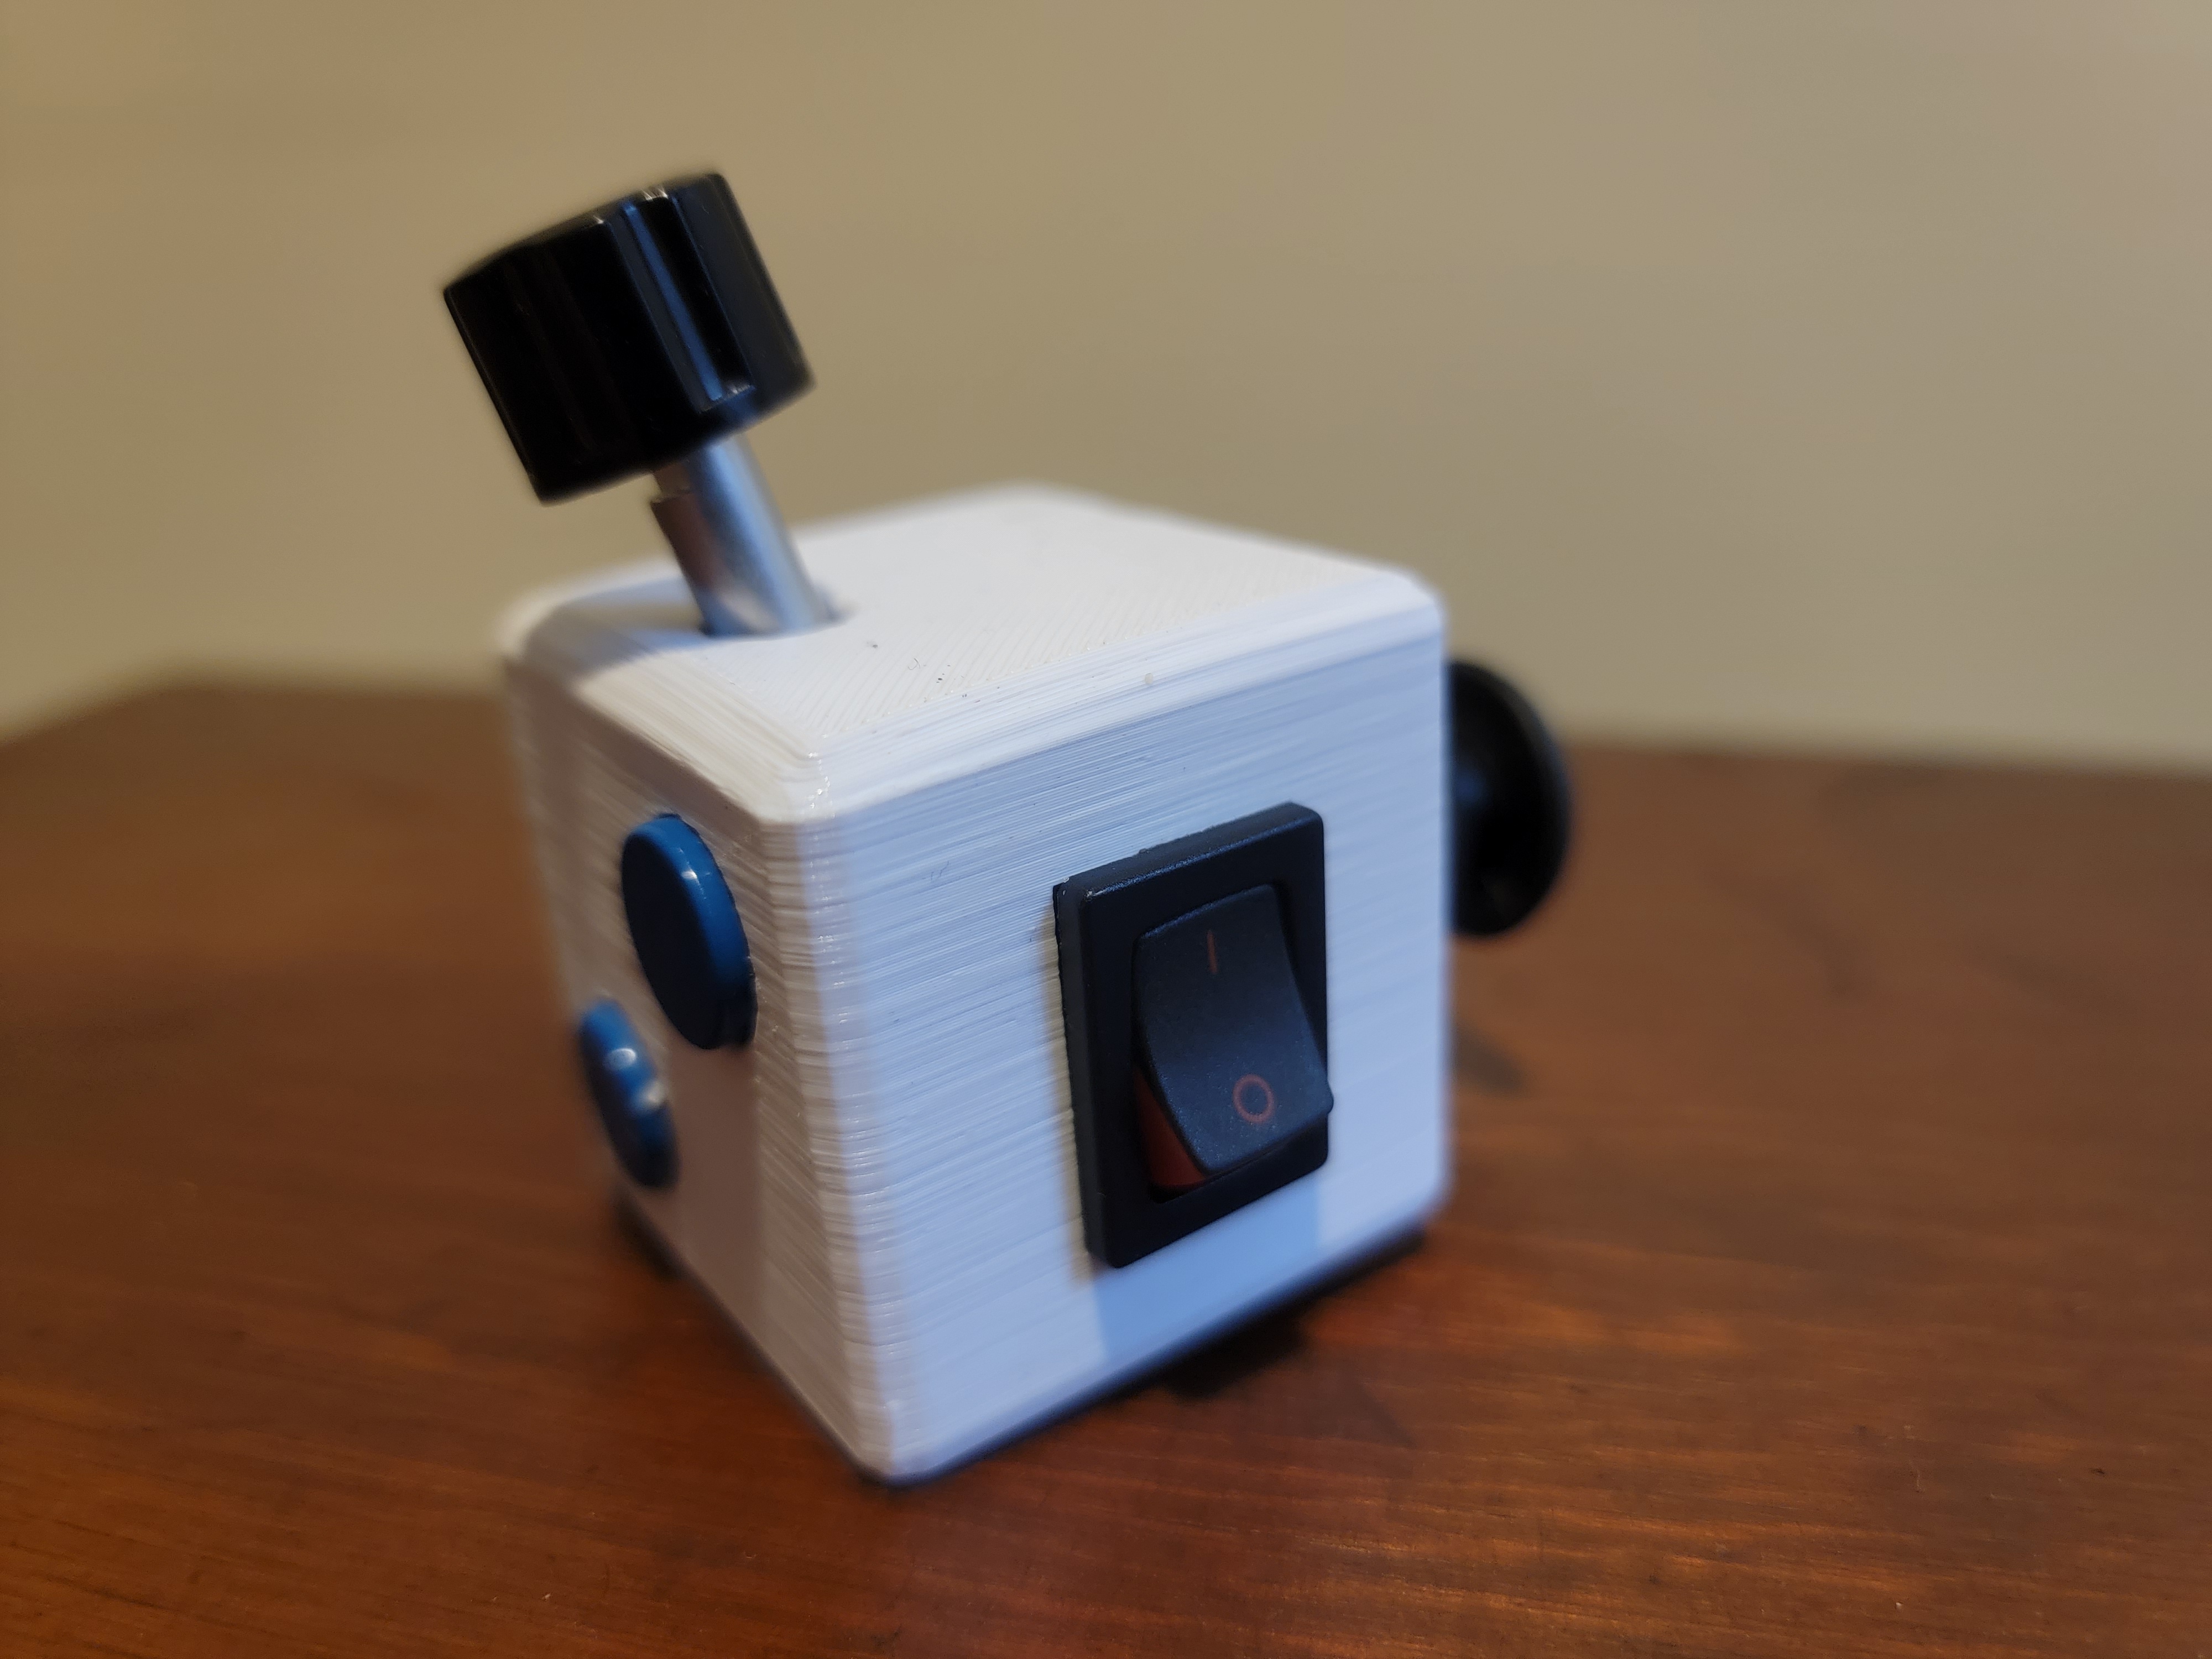
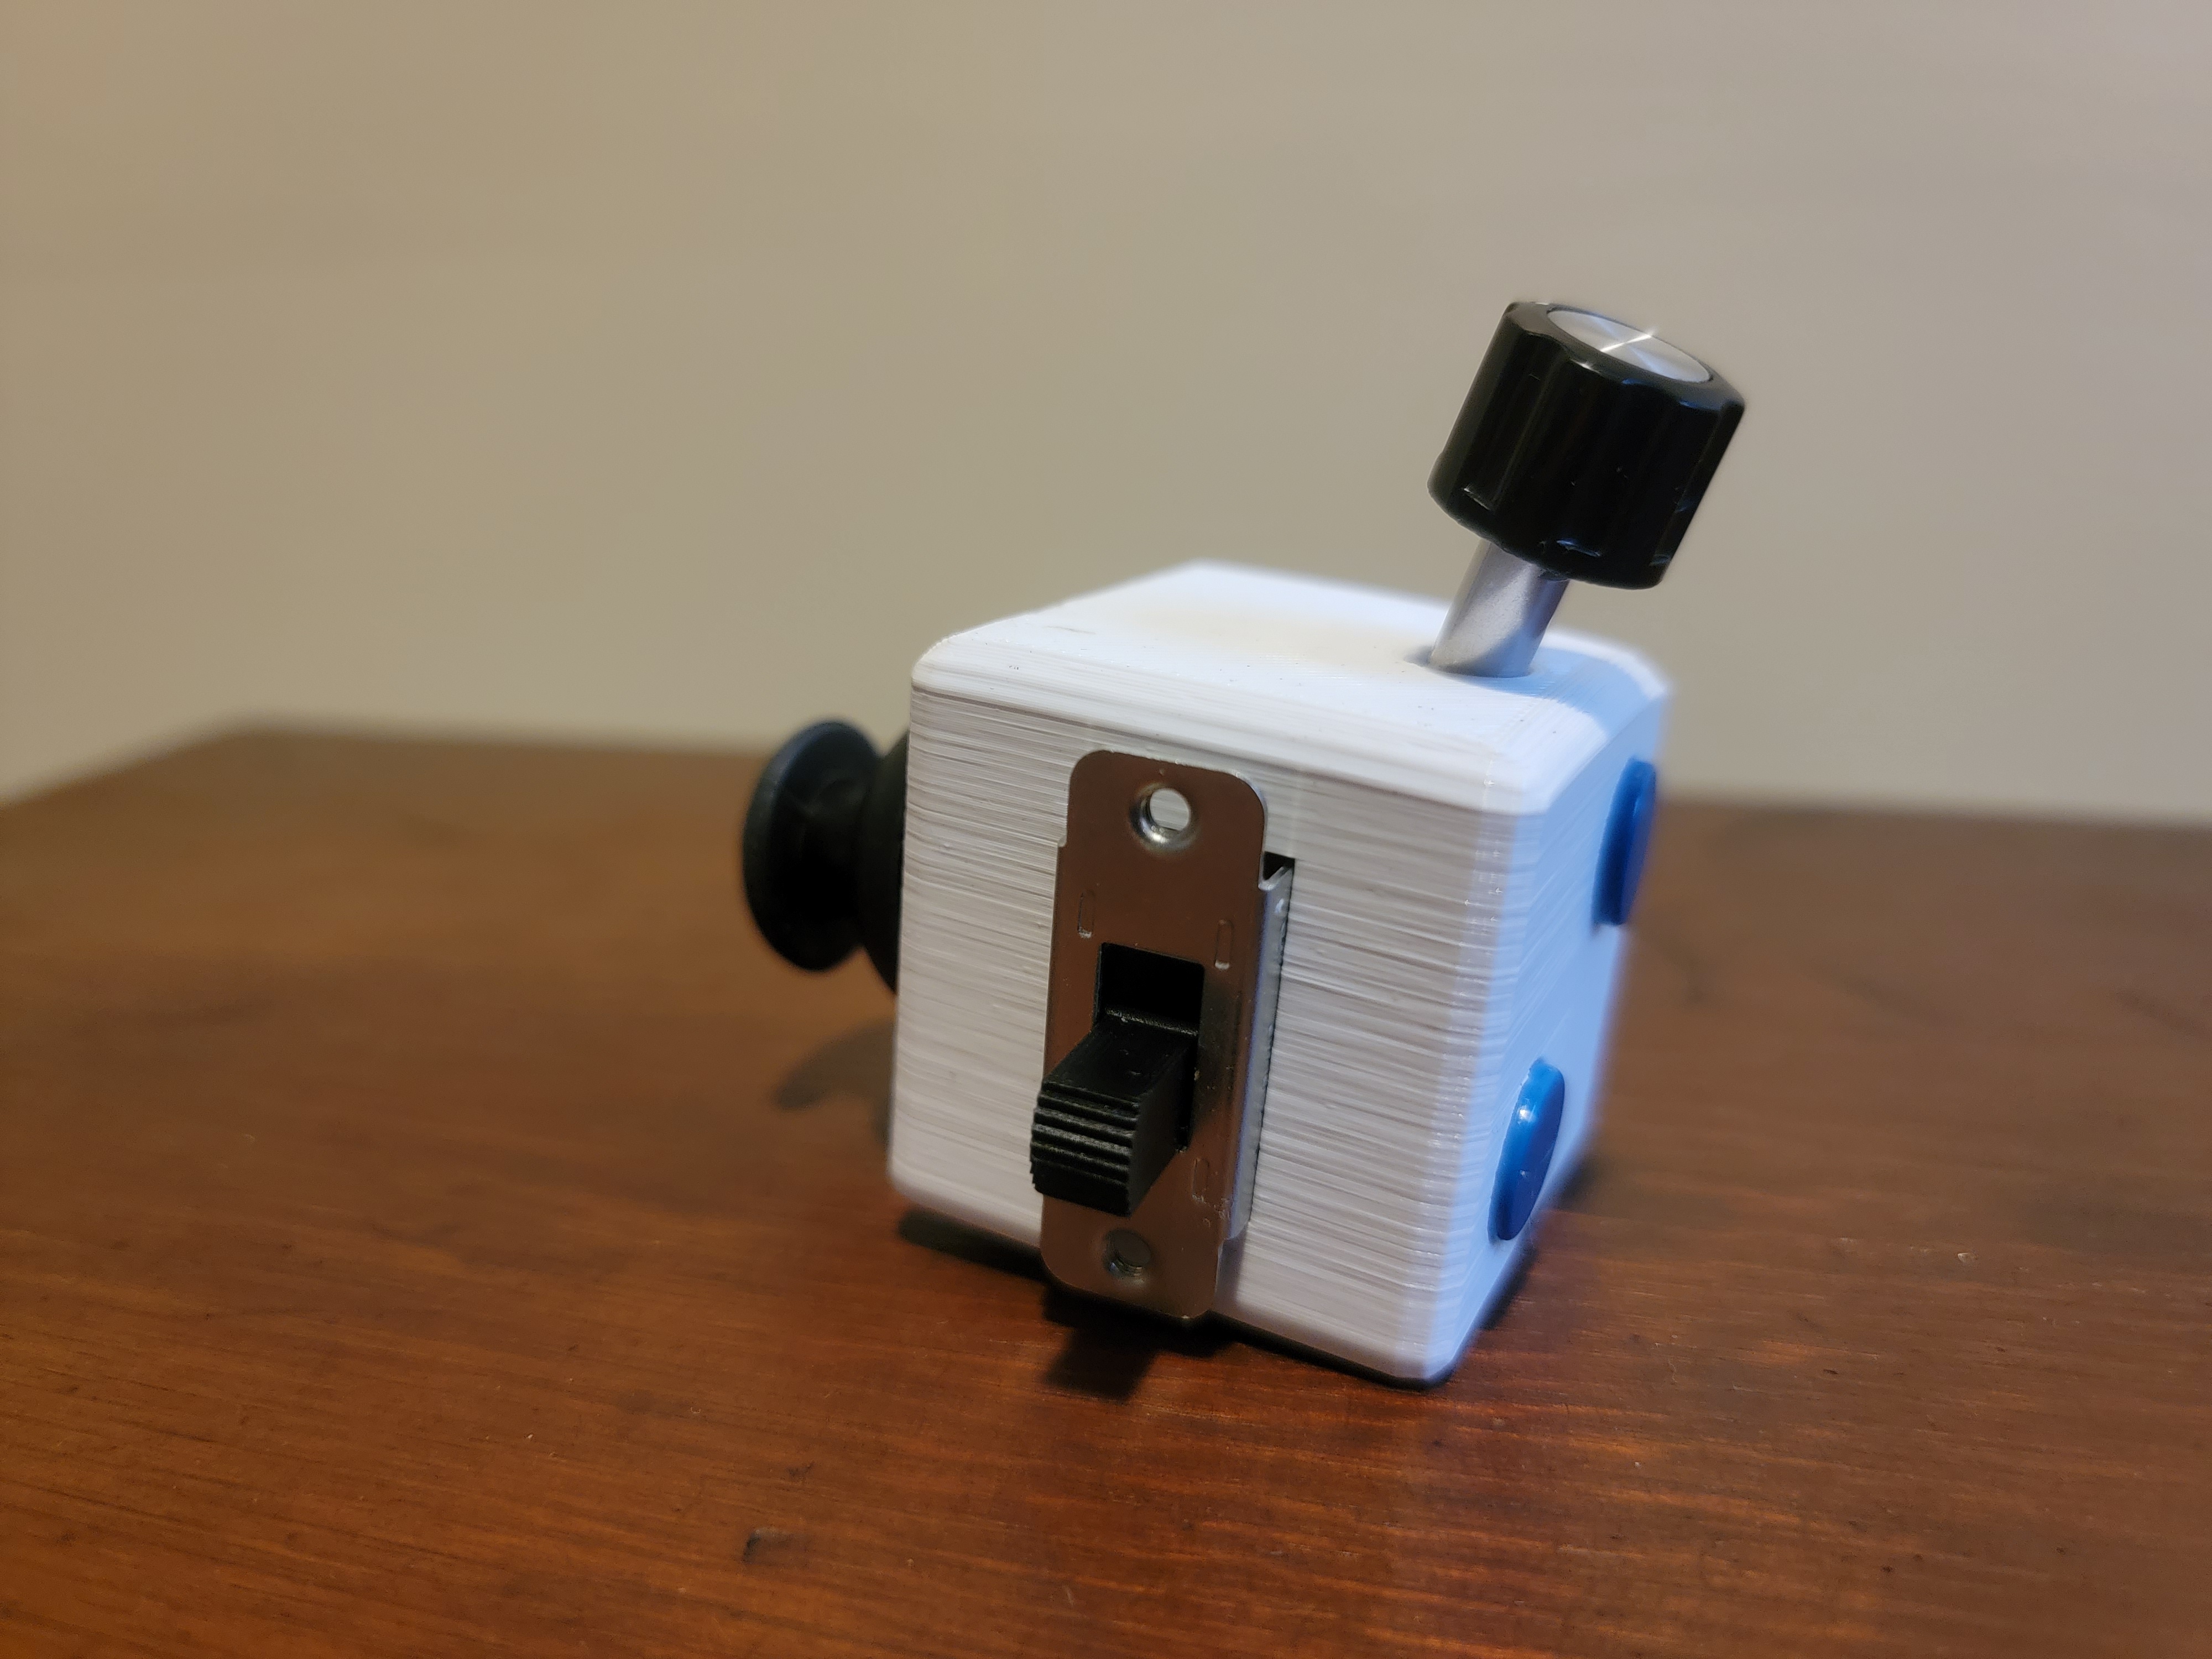
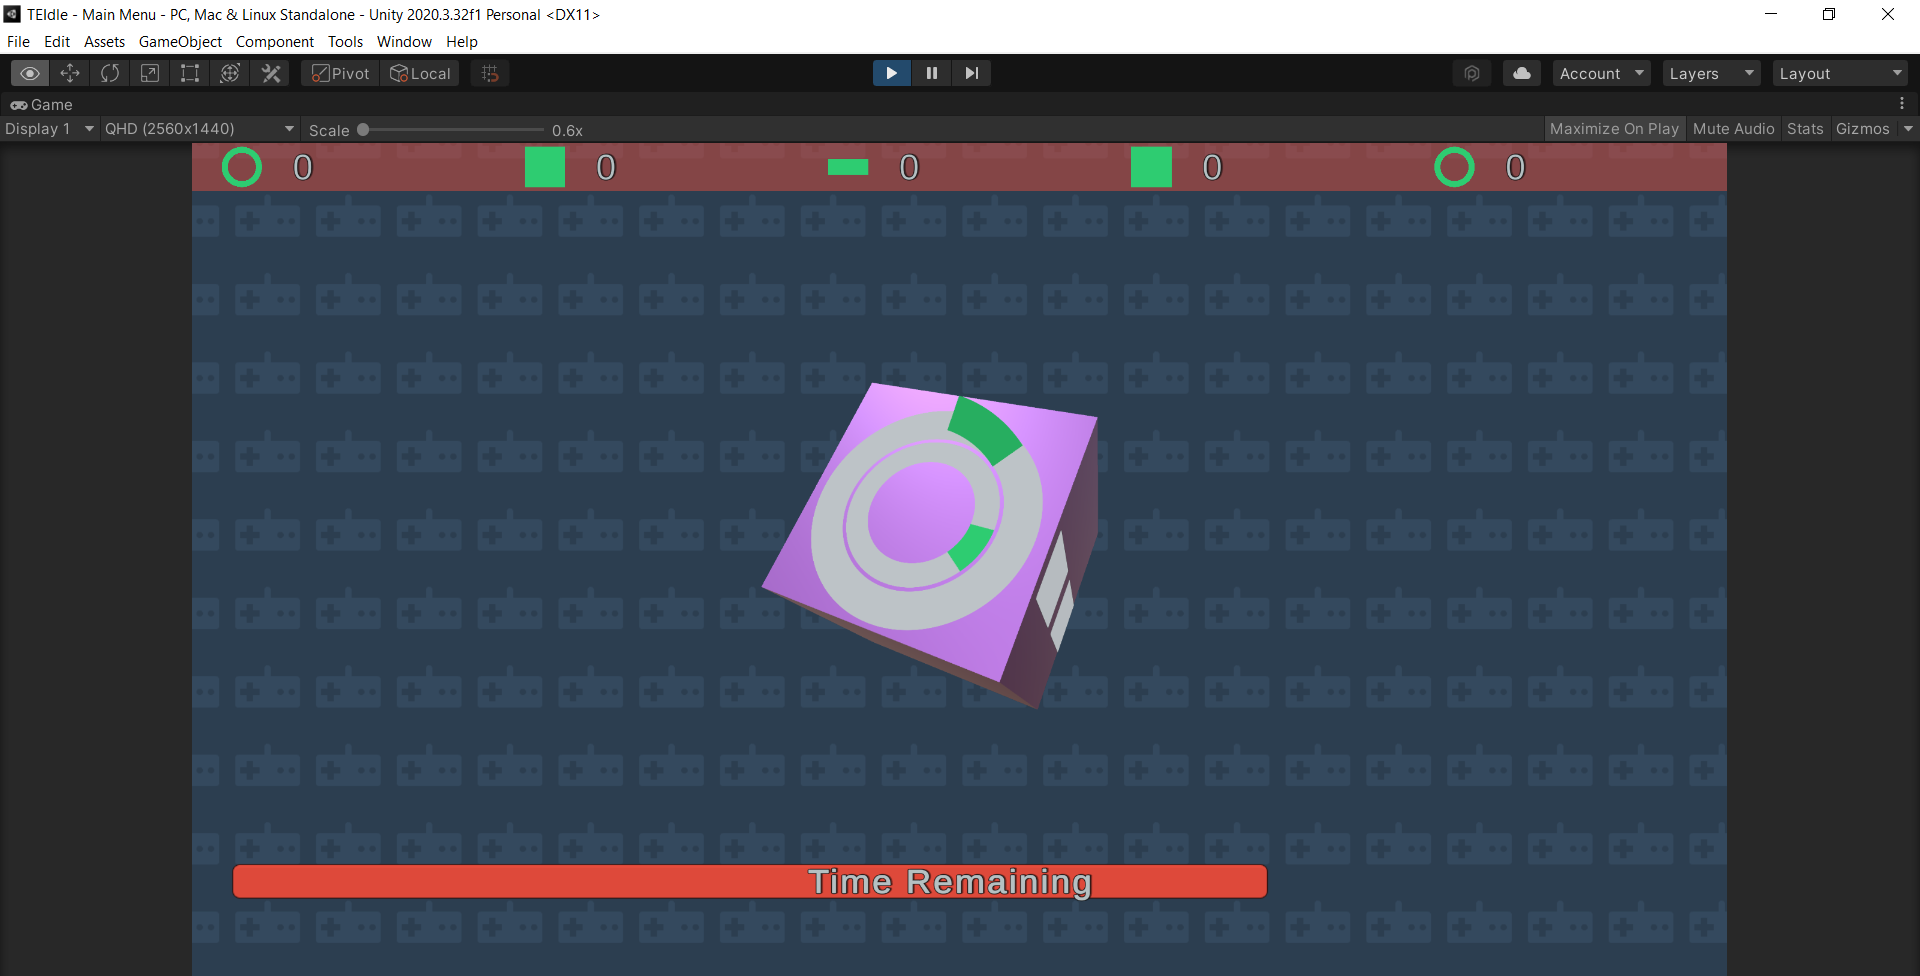
The goal of this project was to create a unique game controller (using arduino), and a small game (made in unity) to accompany it. Inspired by fidget cubes, I am creating a cube with different types of buttons and knobs on each face. This will be accompanied by a clicker game where players can see a digital representation of the cube on screen, and the camera will rotate to view the face that has most recently been interacted with.
A link to a video of the final gameplay can be found on this page, along with images depicting the fidget cube inspiration and multiple iterations of the controller casing.
Feedback
I had one playtester who thought the controller concept was cool, and also found the game fun. She also commented the game was very stressful, and suggested a larger cube may be better, as she found her fingers were all quite close together and it was too small for convenient use. Additionally, she suggested a small change to the layout of the faces; the slide switch was a lot of effort to push, and the knob was easy enough to move with just a thumb. Switching these two may have improved usability, as placing the slide switch on the top face (the face opposite the empty face with wiring coming out of it) may allow the most leverage to be applied consistently.
Additionally, I received no feedback regarding frailty of the controller, which I had been worried about from my first iterations of the casing. Fortunately, the combination of 3D printing (5mm thickness) and these particular sensors, no issues were found in this area.
Future Work
The internals were janky. The most consistent problem was that I modeled the casing for the size of the interactable components of the sensors, but the important part to be secured to the casing in most instances was actually the base piece of the sensor. For example, the tactile buttons don’t click well when the button is placed into the circular opening, so the bas of the button needed to be secured within the casing using janky methods including hot glue and a 3D pen for support beam sorta things. I would definitely make a larger casing with more room for supports, wiring, and freedom to change around the orientation of which sensor goes on which face, as well as mold the casing itself to accommodate electrical components to make the interactable pieces more easily usable.
Controller Casing Notes
I thoroughly enjoyed creating a controller, and would love to do so again in the future. The use of open scad allowed for precise, mathematically informed measurements for my 3D model, though it was essential to account for the tolerance of the filament. I added ~2mm on most holes to achieve a proper fit. I also needed to consider the medium of 3D printing, and therefore used a “cup and cap” style design along with rounded internals to make sure the printer never needed to print in midair. Further, building supports into the model itself would have proved highly useful, but would have required a larger internal space. Considering not only the interactable components of the electronics (such as buttons and knobs) but also the attached electronic components (like the joystick’s circuit board or the potentiometer’s long pins) would be essential for a comfortable, durable, and easily usable controller. Finally, housing an arduino within the controller, rather than running wires directly out of the device, would have resulted in cleaner cable management. Wireless options may be worth pursuing with a large enough device, but would also add a layer of complexity with powering the device.